tape! User Manual
Manual v0.1.39 - 2026-08-11
WIP
This manual is in the deep work in progress state. Please do not rely on it heavily :)

User Interface
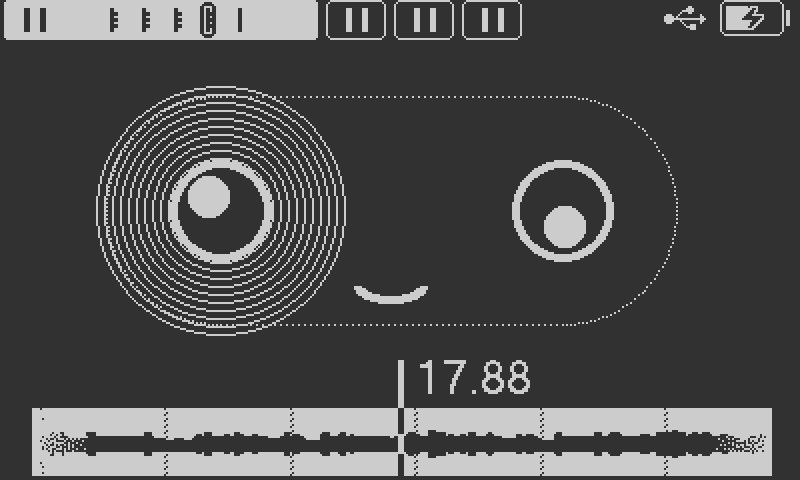
The primary display is divided into three functional zones for real-time feedback and navigation.
-
Status Bar: Displays current transport state, and battery percentage.
-
Hint Overlay: Dynamic context-sensitive labels mapping physical buttons and the encoder to active functions.
-
Timeline: Shows the Rec marks with waveforms, Tapeheads positions and active loop region.
Quick Start
Tapehead navigation and recording
The basics you need to start exploring tape: record some audio and create a loop.
Press ⫷ or ⫸ to switch between tapeheads (A, B, C, D).
Press REC to arm the tapehead
Press PLAY to begin the recording.
Press REC to pause or disarm recording.
While holding CUE rotate wheel to hover over recorded material and press PLAY to set loop points at recorded mark.
Press CUE: toggle loop on/off for the active tapehead.
Note
Only one tapehead can record at a time.
Congrats! You’ve recorded your first loop. Now it is time to have some fun.
Unlike a physical tape loop, you can play back the same recorded segment from multiple tapeheads simultaneously. Each tapehead can have its own playback speed and direction, allowing you to create layered textures, harmonies and rhythmic variations.
Operations
Mixer Parameters
Hold PLAY to display the Mixer quick menu.
Adjust the output level, FX send, feedback, and input level for the active tapehead.

-
Press ⫷ or ⫸ to cycle between Output, FX, Feedback, and Input levels.
-
Rotate Encoder: level adjustments.
-
Output controls the playback level of the active tapehead.
-
FX ontrols the tapehead’s send level to the effects chain.
100% Wet
The FX send is independent of Output, so you can create a 100% wet signal by turning Output down while leaving FX up.
- Feedback controls how much newly recorded audio replaces the existing material. Higher values preserve more of the previous recording, while lower values overwrite it more aggressively.
Delay vs SOS
This is the key difference between a delay effect and Sound-on-Sound recording.
- Input adjusts the recording input level for the active tapehead.
Recording options
Hold REC to open the Recording Options quick menu.
Configure recording behavior, input source, monitoring, undo, and bounce settings.

-
UNDO: press PLAY to undo/redo last recording.
-
LOOP: enters set loop mode, when active two consecutive presses of CUE or REC button will set loop start and loop end points.
-
INPUT: press ⫷ to toggle between line and mic inputs.
-
MONITORING press ⫸ to toggle input monitoring on and off.
-
ERASE: holding PLAY clears current loop region.
Feedback Risk
Internal Mic: Monitoring the internal Mic without headphones will create a high-gain feedback loop. The system automatically disables monitoring in this configuration if no headphones or line-out connected.
-
EXTEND: hold CUE to extend currently selected loop.
-
DRY/WET: hold ⫷ to switch.
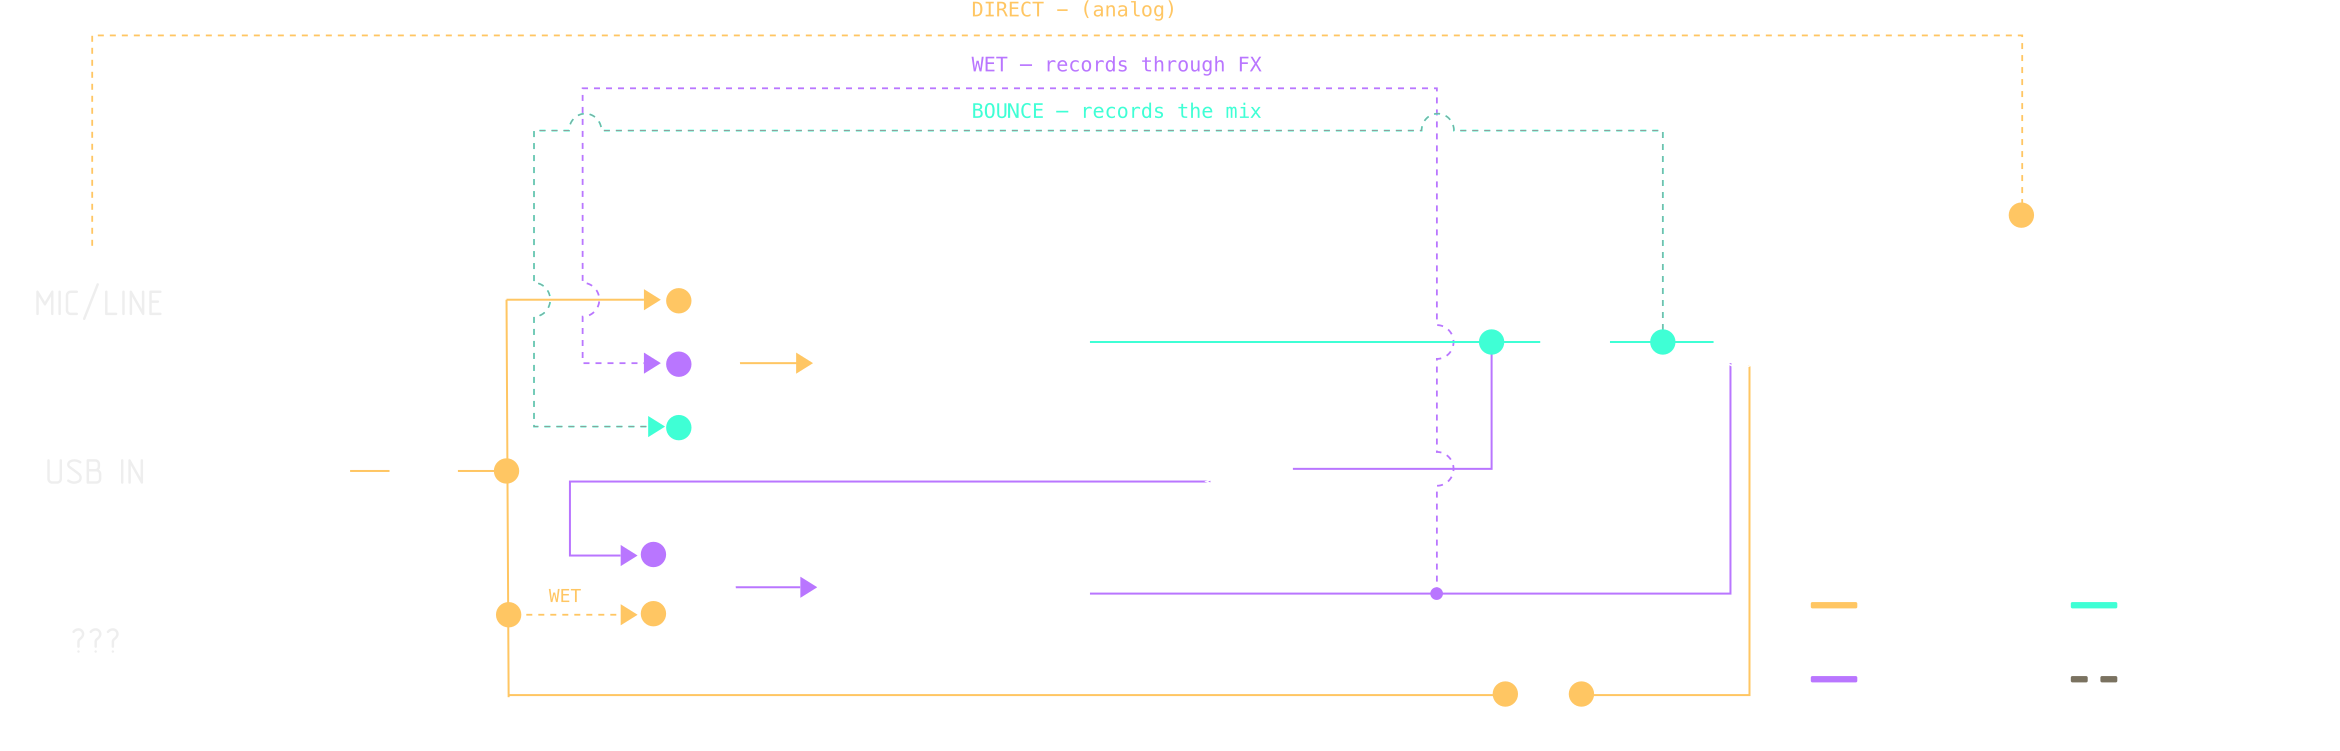
- DRY — record the input signal before the effects chain.
- WET — record the input after the effects chain, allowing effects to become part of the recording.
-
BOUNCE hold ⫸ to enable bounce mode.
Bounce flow
Each tapehead can be bounce/resample only previous tapeheads, so its not possible to bounce at tapehead A
Edit Mode
Hold CUE to open the Edit quick menu.
Create cues, split regions, scrub the timeline, and perform slip editing.

-
Press PLAY (Set): Set loop points on recorded tape mark at current tapehead position.
-
Hold PLAY (Cue): Save currently selected loop region as CUE. When CUE is selected - holding PLAY will remove it.
-
Press REC (Split): split the current rec mark at the tapehead position.
-
Rotate encoder: scrub over timeline if assigned to SPEED, otherwise Slip.
Loop Slipping
When the encoder is assigned to START or END points (see Quick Menu):
- Hold CUE + Rotate encoder: Move both loop points simultaneously.
- Hold CUE + press ⫷ or ⫸: Moves playback position near loop end for quicker and easier seam adjustments on long loops
Experiment
Don't forget to have fun with slipping very short loops.
Quick Menu
Hold ⫷ or ⫸ to open the Quick Menu.
In Quick menu, timeline zooms out to show whole tape.

-
Press PLAY: Assign the encoder to SPEED.
-
Press REC: Assign the encoder to LOOP START.
-
Press CUE: Assign the encoder to LOOP END.
-
Hold PLAY: toggle sync on and off. Sync parameters are configurable in settings menu.
-
Hold REC: toggle AUTO mode. AUTO mode simplifies recording process - each REC press starts/stops new recording in the empty space on the tape. Usefull if you need to capture sounds on the go, without extra tinkering.
-
Hold CUE: fast moving of tapehead position across whole tape.
Note
Quick menu is not avaliable during recording. REWIND is available only when SPEED is selected.
Menu
Main menu
Entering main menu:
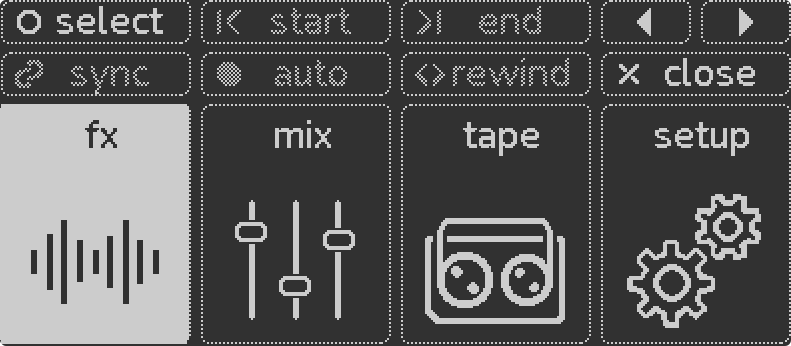
- Hold ⫷ or ⫸ to access quick settings

- Hold ⫷ to open main menu
FX
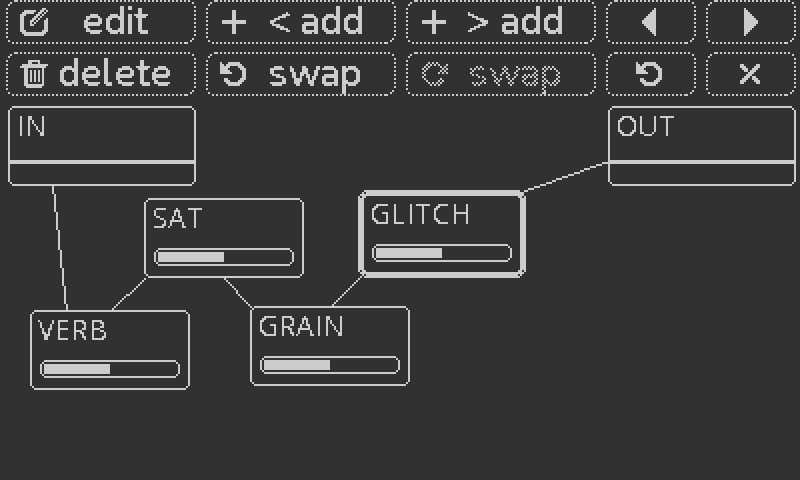
Node-based fx processing chain
Navigation
-
Rotate Encoder or press ⫷ / ⫸: navigate through active effects.
-
Press PLAY: edit primary node parameter.
-
Hold PLAY to remove selected FX
Adding effects
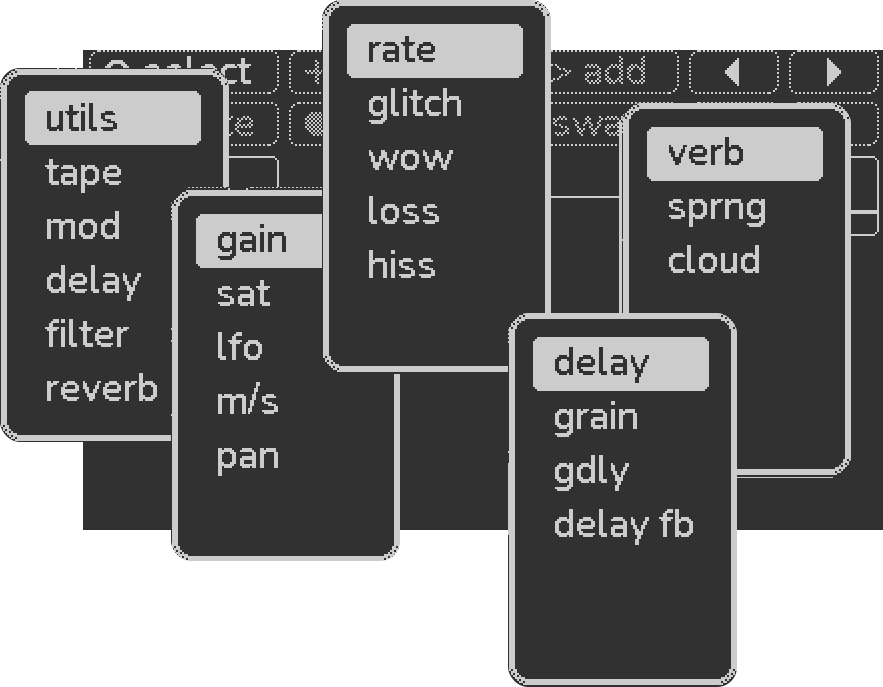
- Press REC/CUE: Insert new node before/after current selection.
- Hold REC/CUE: Swap node position.
Mix
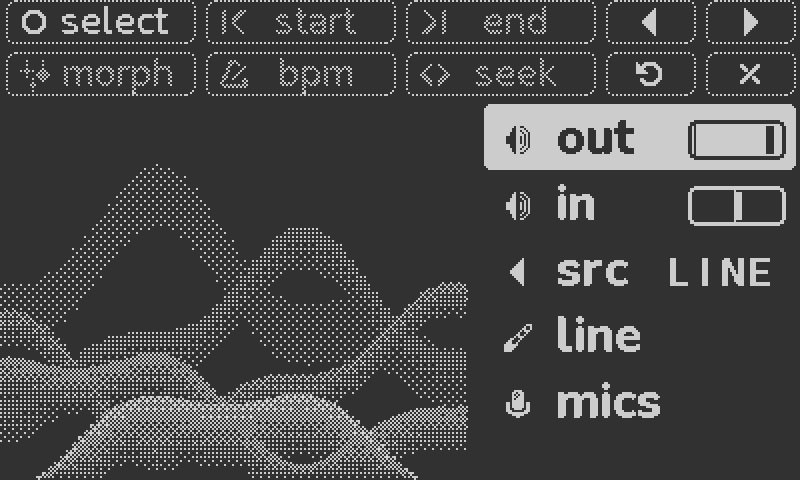
Controls
- OUT: global device volume
- INPUT: global input volume
- SRC: input source selection
- LINE/MICS: mix input settings
- STERO / L+R / LEFT / RIGHT / L-R
- HI-Z: input jack mode
- beamforming mic controls (WIP)
Tape
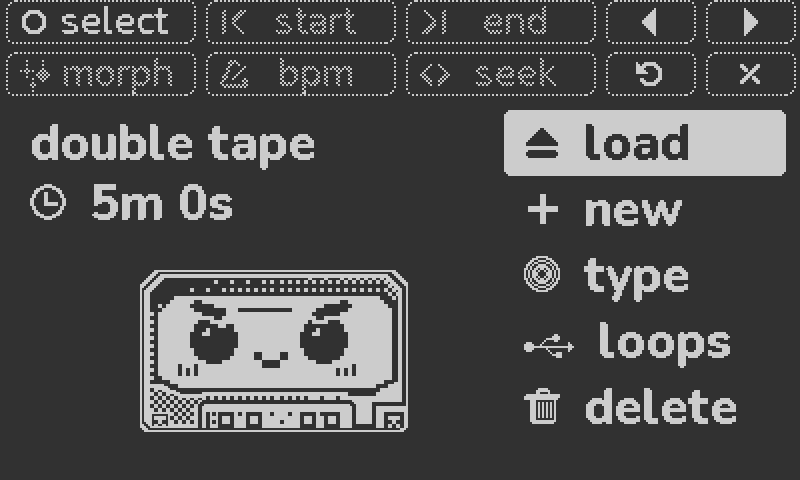
Create a New Tape
Follow this sequence to provision fresh storage for a session.
- Enter Tape Menu: Select new.
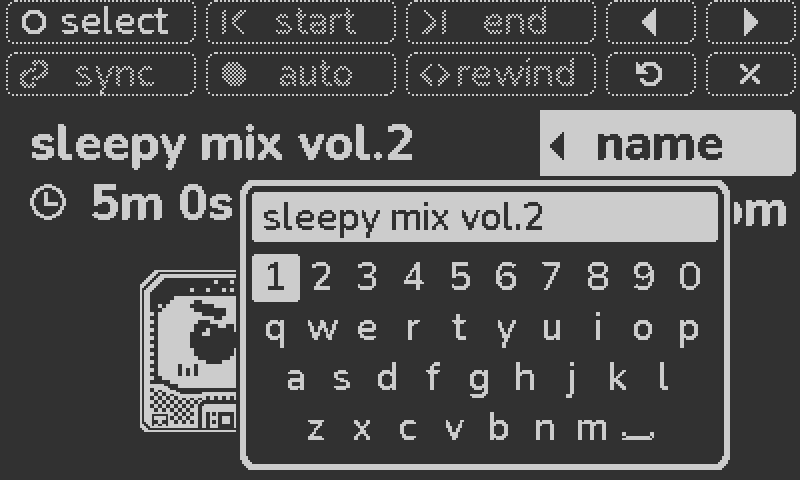
-
Set Name: Select name for manual entry or random for generated naming.
-
Set tape length: Rotate the encoder to select total session length (1-45 min).
-
Select ok, wait for the loading animation to complete.
Capacity Limit
tape size is fixed at creation. It cannot be expanded later.
Mount an Existing Tape
-
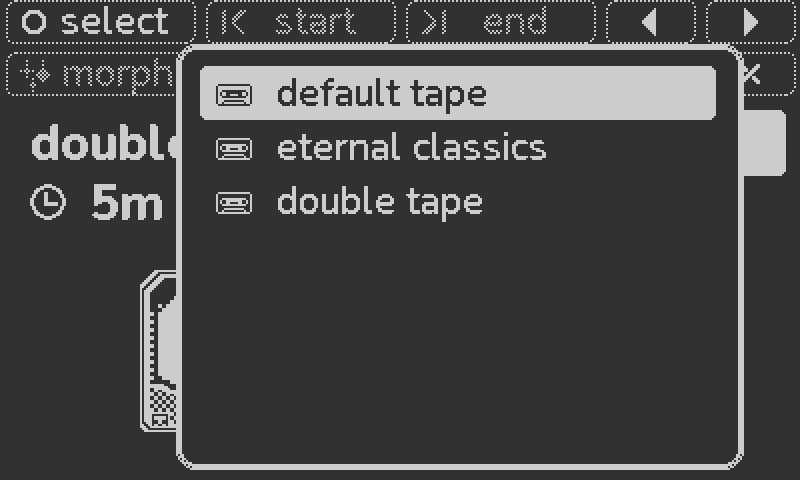
Enter Tape Menu: Select load.
-
Select File: Scroll the list of
.wavfiles. -
Load: Press PLAY to mount.
-
Verify: Wait for playback engine to initialize.
Delete a Tape
-
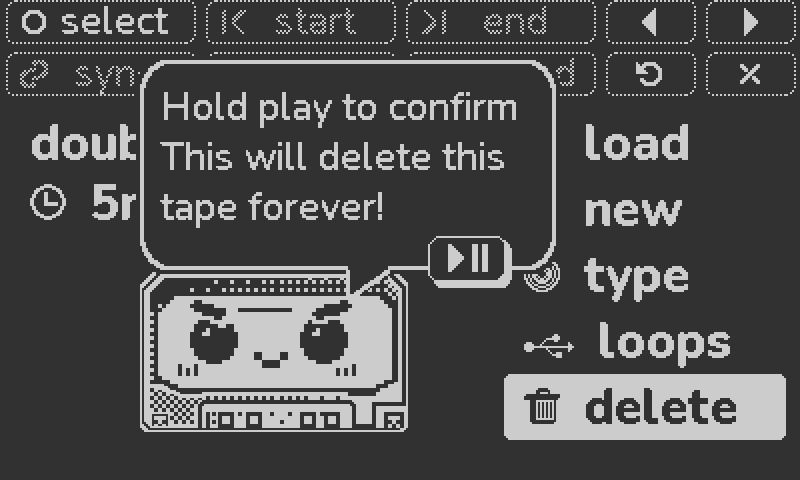
Enter Tape Menu: Select delete.
-
Confirmation: hold PLAY (2 seconds).
Export cues
Transfer your saved cues to a host computer from currently mounted tape.
- Connect: Plug the tape! into a host PC via USB.
- In tape menu select loops.
- tape! will appear as mounted disk on your computer.
USB Audio & MIDI
While connected via USB, the device also functions as a class-compliant 2x2 audio interface and midi interface.
Settings
Setup menu
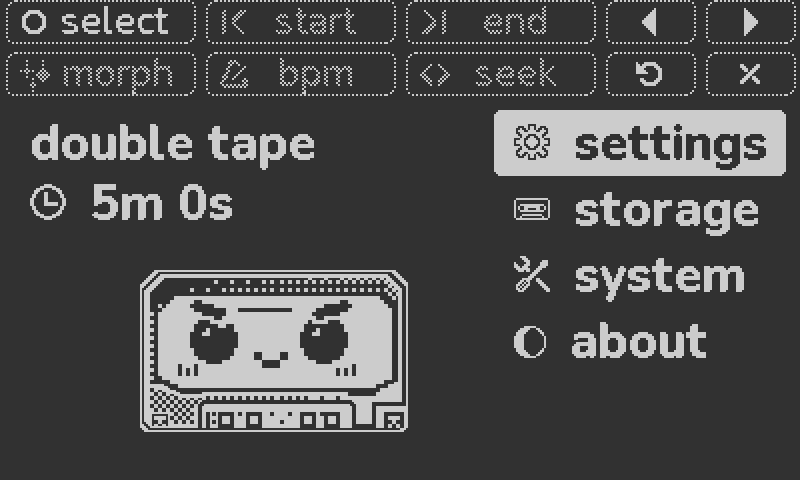
Settings
Configure editing behavior, paste mode, MIDI options, controller mappings, and synchronization.
Edit Mode
Choose how edit operations affect the source audio.
- CUT — Moves the selected audio to the new location.
- COPY — Duplicates the selected audio, leaving the original unchanged.
Paste Mode
Choose how pasted audio is applied.
- OVER — Replaces the destination audio.
- MIX — Mixes the pasted audio with the existing destination audio.
MIDI
The device supports several MIDI playback modes.
- NOTES — A 4-voice polyphonic sampler. Select a tapehead, then use four MIDI notes to play the selected loop region at different pitches.
- SLICE — Divides the current loop into 12 equal slices. MIDI notes trigger individual slices. MIDI channels 1–4 select the tapehead.
- CUES — MIDI notes trigger saved cue points. MIDI channels 1–4 select the tapehead.
CC Mode
Choose how MIDI Control Change (CC) messages are interpreted.
- ABS — Standard absolute CC values (0–127). Compatible with virtually all MIDI controllers.
- REL — Relative CC mode. Ideal for adjusting parameters such as loop start, loop end, or playback speed without hitting value limits.
Relative CC
Relative MIDI CC messages send increments instead of absolute values. Typically, a value of 1 represents −1, while 127 represents +1 (the exact implementation depends on the controller). This allows parameters to be adjusted continuously without being limited to a fixed position.
Toggle Mode
Configure how on/off controls respond to MIDI CC messages.
- GATE — A CC value of 127 turns the parameter on, while 0 turns it off.
- LATCH — Each received value of 127 toggles the parameter between on and off.
MIDI Mapping
Mapping the reason we do not publish MIDI implementations chart - it lets you customize your controller exactly as you like. You can even assign multiple parameters to the same CC to create simple performance macros.
You can learn mapping from incoming MIDI messages when parameter is selected.
Sync
Sync resets the active loop to its start point, allowing tape! to stay tightly synchronized with the rest of your performance.
Four sync modes are available:
- OFF — Synchronization is disabled.
- INT — All tapeheads restart whenever Tapehead A completes a loop.
- MIDI — Synchronizes to incoming MIDI Clock messages.
- EXT — Uses an external trigger signal to restart all loops. Select which input channel to use:
- Left (Tip)
- Right (Ring)
The Division setting determines how often synchronization occurs. Available values range from 1/4 note (one beat) and 1/2 note up to 32 bars.
Storage
Manage the device’s internal storage.
- Format the internal storage.
- USB Drive Mode — Mount the internal storage as a removable drive when connected to a computer.
System
Configure general system behavior and power management:
- LATCH — enable or disable latching for on-screen hints.
- SLEEP — set the inactivity timeout before the device automatically powers down.
- MIRROR — enable or disable display mirroring (requires tape_mirror app).
- SHUTDOWN — Safely shut down tape!.
About
Displays system information, including firmware version (make sure the latest is installed!) and unique device ID.
Radio
Radio
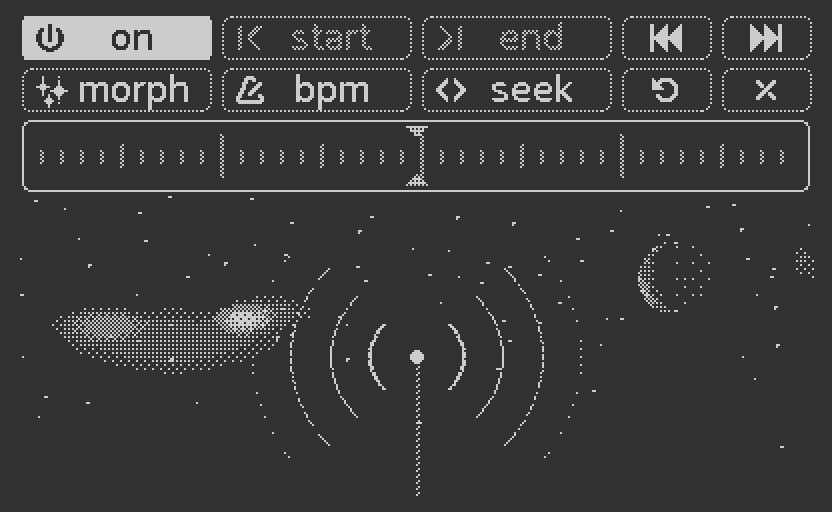
tape! has a built-in radio, every station you hear is generated by the device itself, in real time — the genre, tempo, key, drum patterns, melodies, synth engines, effects and the way the song arranges itself over time. Nothing is streamed, nothing is sampled, nothing is stored. Tune the dial and see what is out there.
Turning radio on
Radio is hidden until you ask for it.
-
Hold ⫷ to open the main menu.
-
With the fx selected - hold PLAY for 5 seconds.
-
The cell fades and comes back labelled radio, with an animating icon.
Repeat the same hold to turn radio off.
Radio replaces FX
While radio is on, the first main menu cell is radio instead of fx, so the effects chain is not reachable. Turn radio off to get fx back.
Note
Radio is off every time you power up tape!. It is not remembered between sessions.
Tuning
The radio screen is a night sky with a tuning scale across the top. Each antenna you can see is a station within reach, sending out rings; it grows and brightens as you tune toward it and fades as you leave. The two needles in the middle of the scale mark where you are — they light up while CUE is held.
-
Press PLAY: start and stop the radio.
-
Hold CUE + rotate encoder: tune the dial.
-
Press ⫷ or ⫸: jump straight to the previous or next station.
-
Hold PLAY + rotate encoder: MORPH the station.
-
Hold REC + rotate encoder: change the BPM (50–180). The hint shows the live value while you hold.
Morph
MORPH is a single knob across the whole character of a station. Turn it left and the station drifts toward ambient — sparse, dark, long decays, wide space. Turn it right and it moves toward dance — dense, bright, driven, tight.
It reshapes brightness, density, rhythm, decay, drive, space and tonality at once, thins or fills in the drum patterns, shifts the root note, and swaps the synth engines on the next downbeat. It never hits a stop, so you can keep turning.
Morph is temporary
Morph ends the moment you release PLAY and it is not saved with the station.
Sharing stations
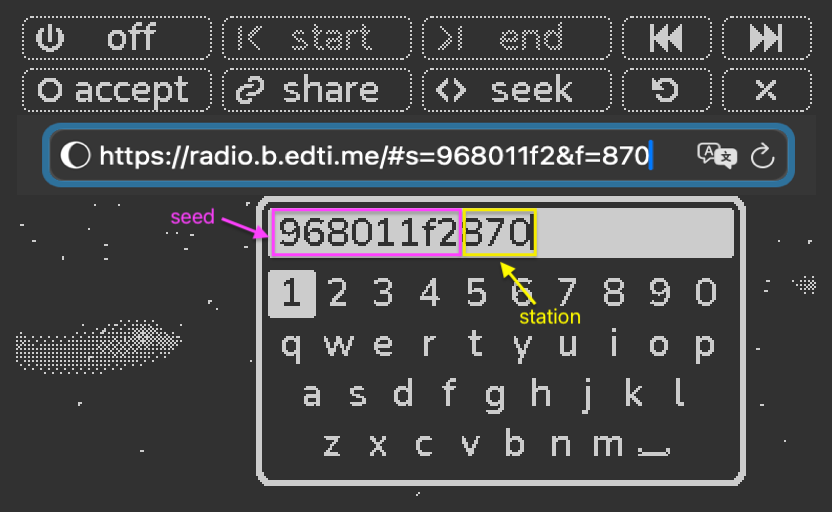
Every station has a code: eight characters for the random seed, then the frequency, so 1a2b3c4d980 is 98.0 MHz on 1a2b3c4d seed.
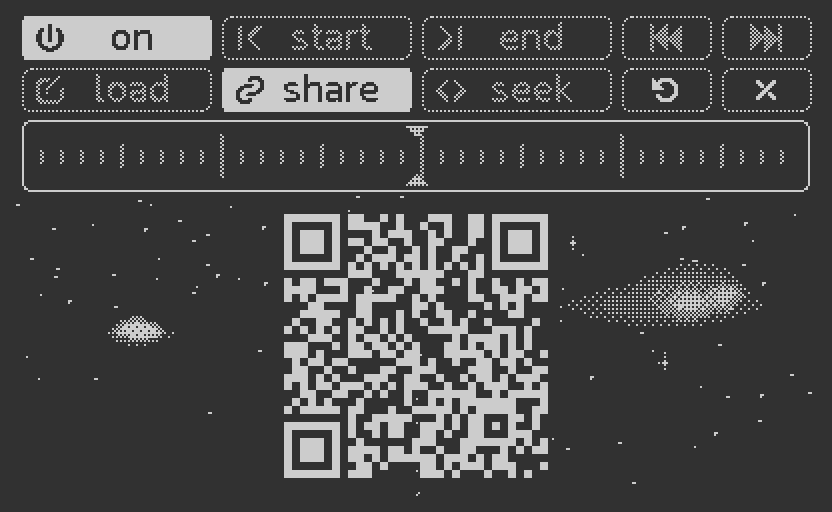
- Hold CUE + hold REC: show the station’s QR code. Scan it to open the same station in the web player. Hold REC again to dismiss it.
Loading stations from web version
- Hold CUE + hold PLAY: open the keyboard, already filled in with the current code. Edit it and hold PLAY to accept.
Note
All other buttons are locked while the QR code is on screen.
Stations do not stay put
The whole dial is generated fresh every time tape! powers on, so a station you liked yesterday is gone unless you saved its code or its QR. Loading someone else's code replaces your whole dial, so every other station changes with it.
Recording the radio
The radio is mixed in ahead of the tape, so pressing REC records the radio together with whatever is on the input. Your mic or line input still passes through as normal, and the monitor switch mutes both.
Locked while radio plays
Because radio replaces the effects chain, DRY/WET and BOUNCE are disabled in the recording options while the radio is playing.
Battery
The radio keeps the audio engine awake, so tape! will not go to sleep on its own and the battery drains faster than in normal use.
Radio over MIDI
Connect tape! over USB and you can play the station’s own voices from a keyboard.
- Channels 1–6: kick, snare, hat, bass, pad and lead.
- Channel 16: a drum keyboard across all three drum voices.
- Pitch bend: ±2 semitones.
- CC 1: sweeps the timbre of that voice.
- CC 1 with CC 64 held: cycles that voice through its synth engines.
Play it stopped
MIDI still plays the voices while the radio is paused, so you can stop the station and use it as an instrument.
Web player
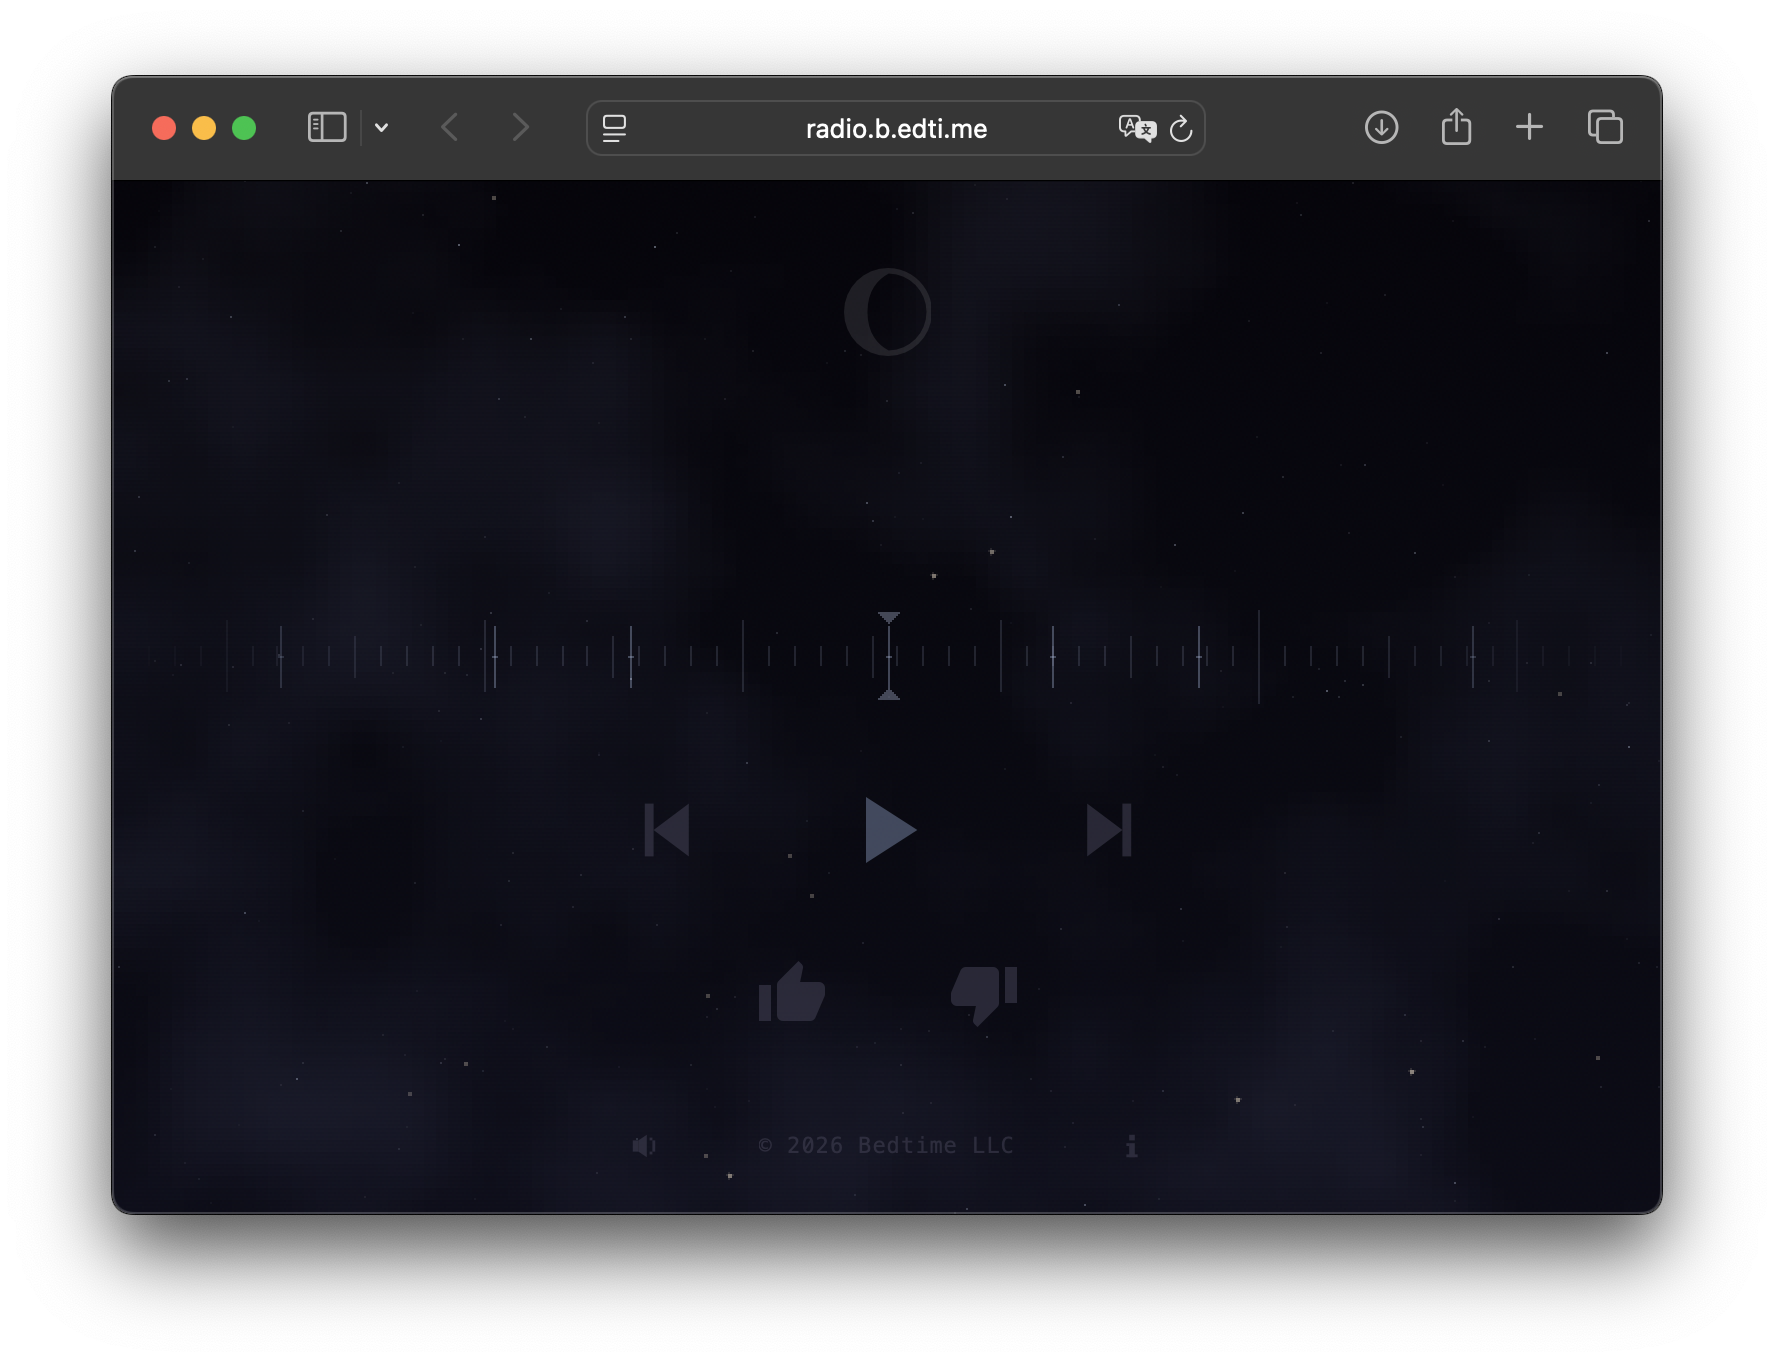
The radio also runs in a browser at radio.b.edti.me. It is the same engine as the one in the firmware, so a station you share from tape! sounds the same there.
- ← and → or the arrow buttons: previous and next station.
- Space: play and pause.
- Drag or scroll the sky: tune.
- L and D: like and dislike the station.
Like a station a second time and the button becomes a share button. You can rate a station once and change your mind once. Stations opened from a link are listen-only unless the link came from a tape! QR code.
Ratings
Rating a station uploads the settings that generated it, so the generator can be improved over time. Nothing from your device or your tape is sent.
Apps
Apps
tape! runs user-written applications called tapps. A tapp draws to the screen, reads the buttons and the encoder, and can take over the audio engine or read and write the tape — so it can be an instrument, an effect, a utility or a game.
SDK docs available at sdk.b.edti.me.
SDK
The SDK is a single repository holding the API header, the build script and a set of example apps.
git clone https://github.com/bedtime-llc/tape_sdk.git
cd tape_sdk
Everything runs from the root of the checkout. tapp_api.h is the API, tapp-build compiles an app, and examples/ has few simple apps to help you get started.
Note
There are no submodules, so a plain clone is complete. Pull the repository again after a firmware update to pick up newly added API calls. However, it's recommended to add it into your own repo as submodule - `
git submodule add https://github.com/bedtime-llc/tape_sdk sdk`
Build
There are two ways to get a .tapp file.
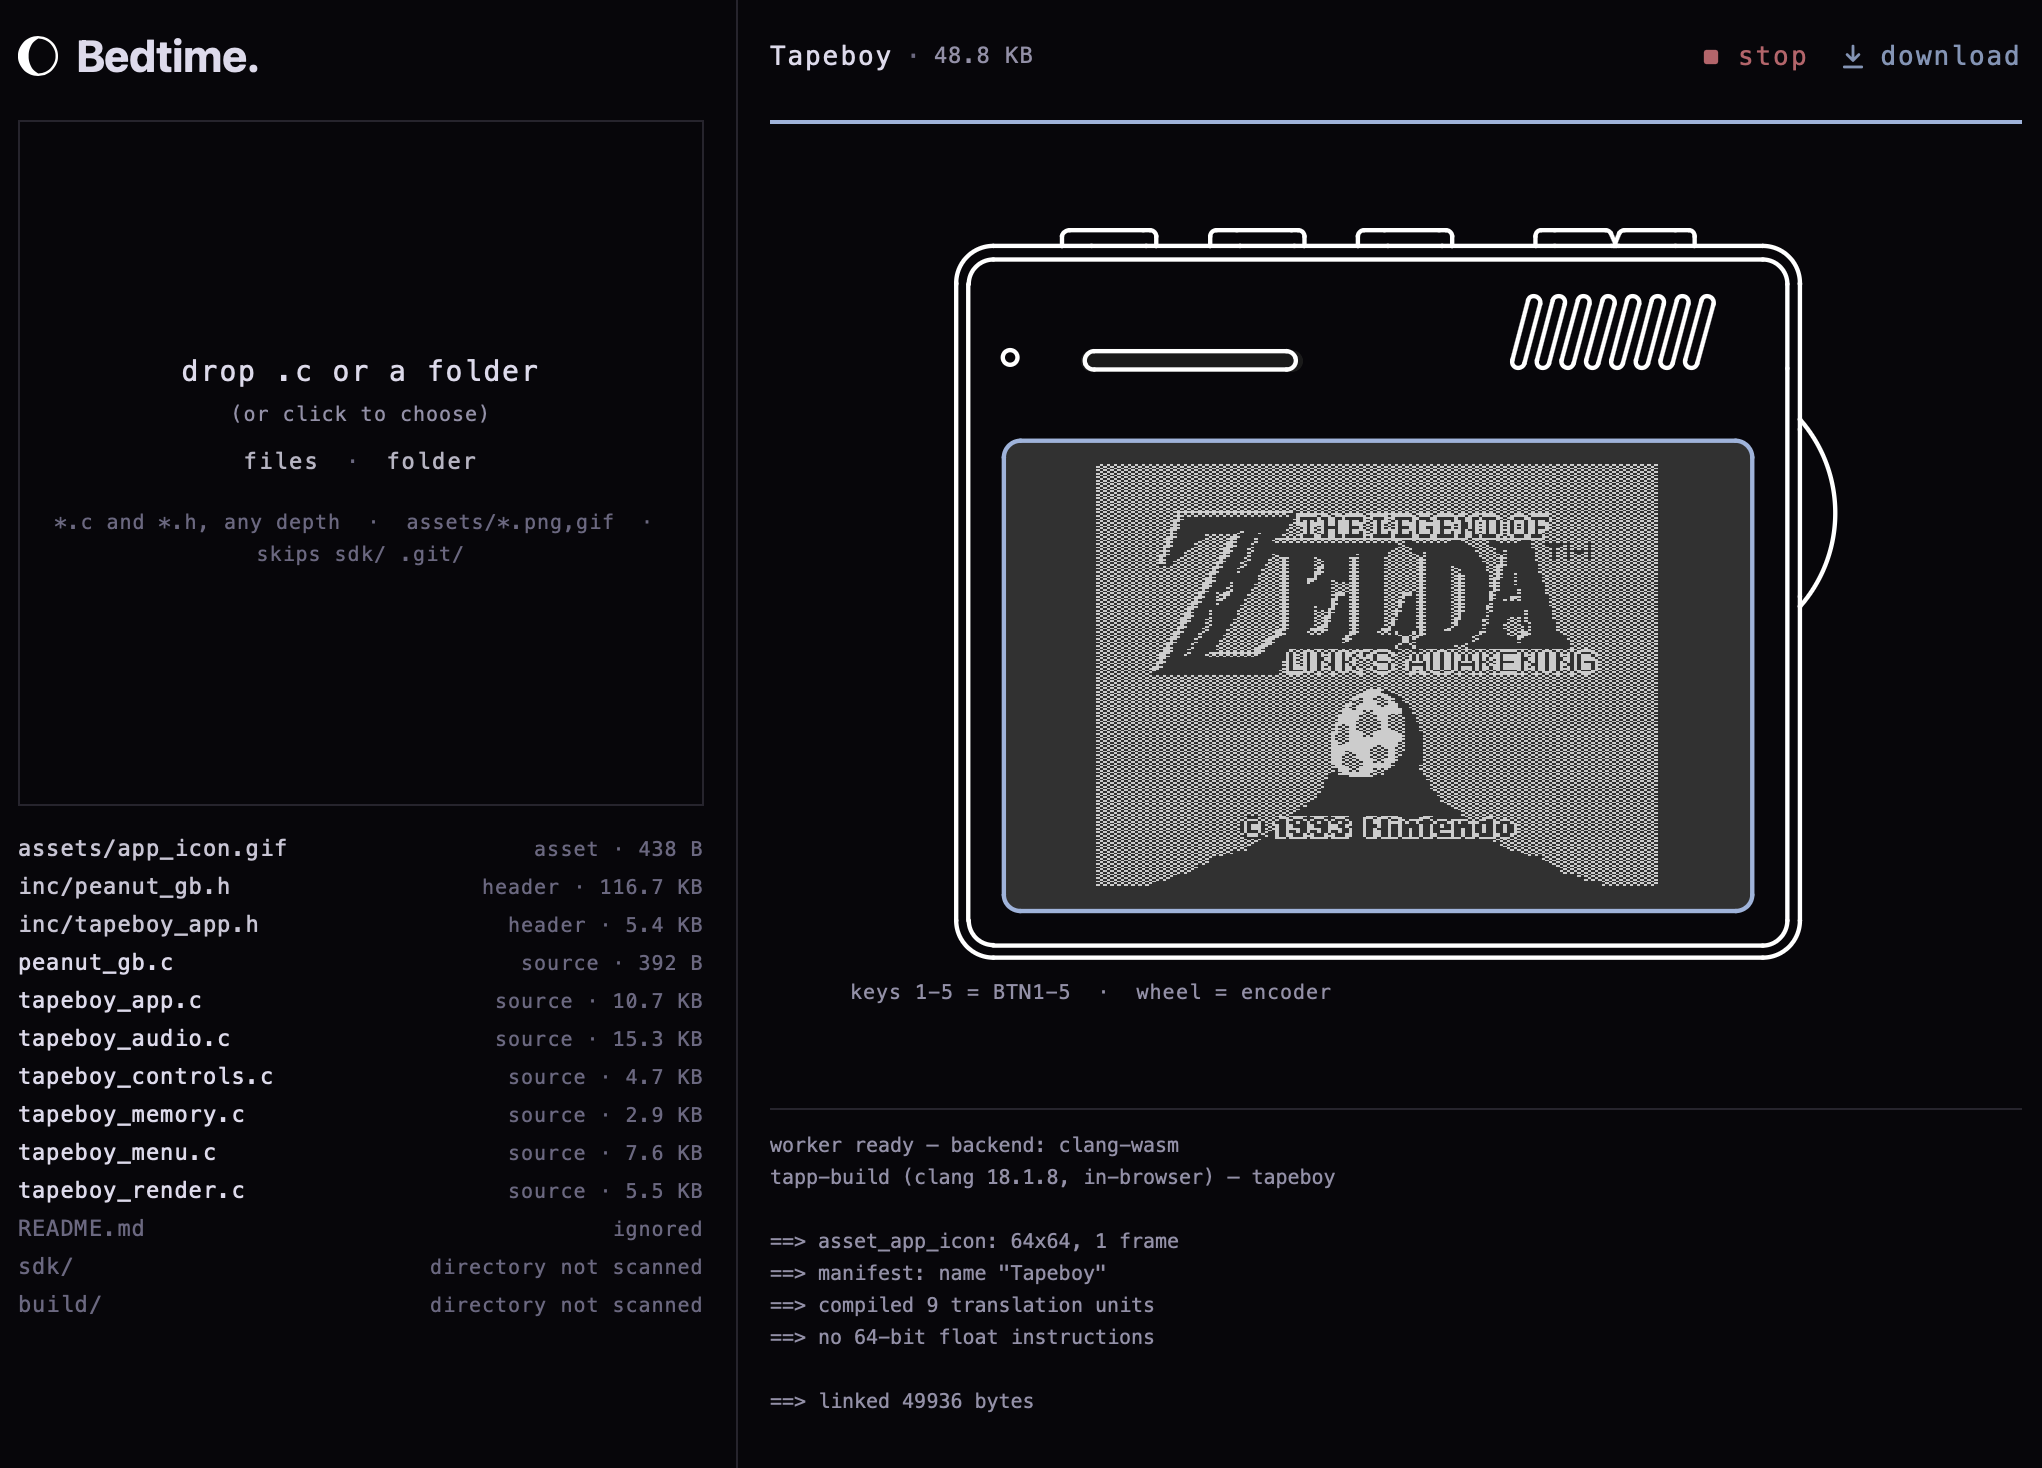
In the browser — go to tapp.b.edti.me and drop a .c file or a folder on the page. It compiles and hands you a .tapp, with nothing to install. Press run and it plays right there on an emulated tape!, with display and sound.
On your machine — install the toolchain:
brew install llvm imagemagick                     # macOS
sudo apt-get install clang lld llvm imagemagick   # Linux
Then scaffold and build from the SDK folder:
make check           # verify the toolchain
make init my_app     # scaffold my_app/my_app.c
./tapp-build my_app  # -> my_app.tapp
Windows
Use WSL and follow the Linux steps. MSYS2 and MINGW64 do not package a bare-metal clang with
ld.lld, so they cannot build tapps.
Install
-
Enable USB Drive Mode in the storage settings and connect tape! to a computer.
-
Create a folder called
appsat the root of the drive. -
Copy your
.tappfiles into it.
Run
Open the main menu, select setup, then apps. Apps are listed by filename.
Note
The apps entry only appears once there is at least one
.tappin theappsfolder.
One audio app at a time
Only one tapp can drive the audio engine. Launching another one hands the engine over, and leaving the app gives it back.
System
Power Management
-
Power On: hold ⫸ (2 seconds) to power on tape!
-
Power Off: hold ⫸ (5 seconds) to enter shutdown mode.
-
Battery Status: The battery charge is visible in the top-right of the Status Bar. The icon flashes when the battery level is critical.
-
Standby charging during standby charging, led stip animates current charge status and turns off on charge completion. tape! charges faster while in standby.
Hard reset
In case of device freeze or not powering up hold PLAY and ⫸ buttons for ~15s, with usb disconnected to hard reset tape!
Power consumption
During active use tape! consumes ~60mA.
- After 30s of inactivity - tape! enters one of two sleep modes:
- Light sleep - when signal flows it enters light sleep mode to preserve monitoring functionality.
- Deep sleep - when no inputs connected and no audio playing
Firmware update
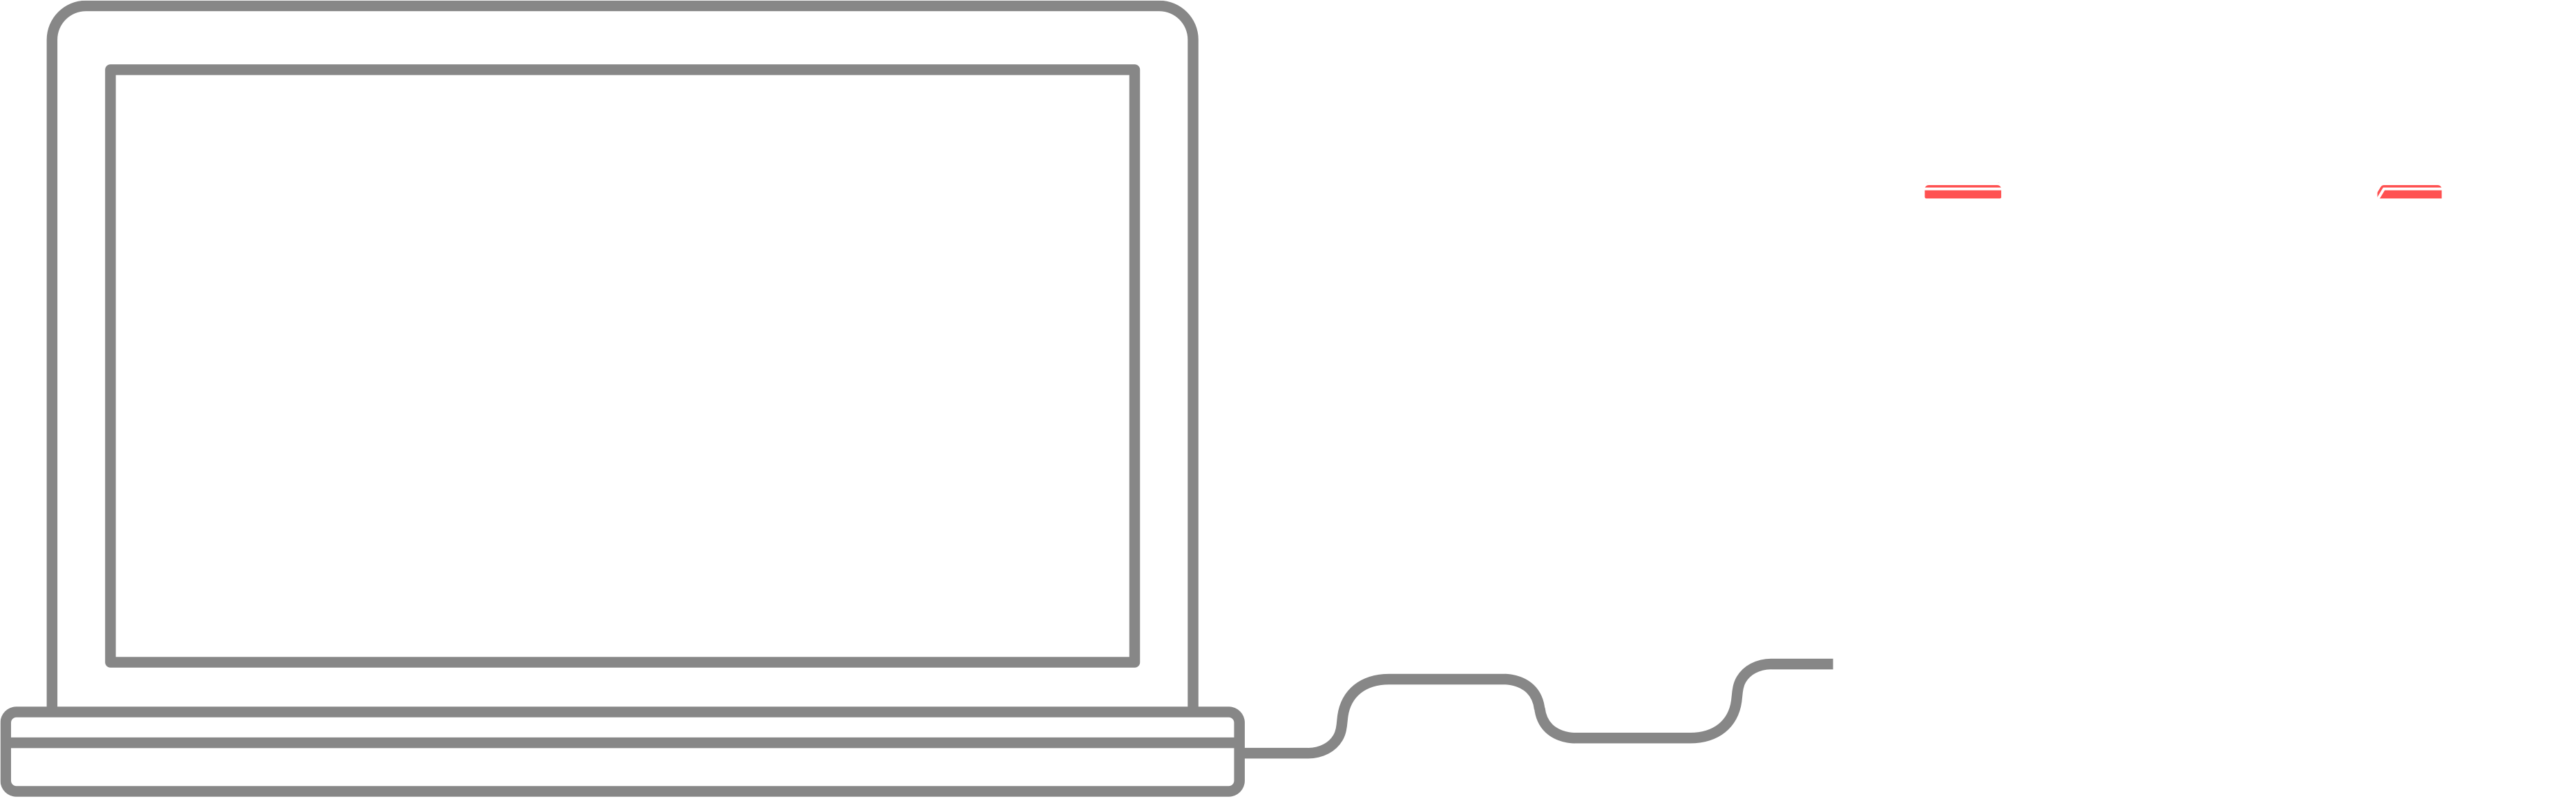
To update firmware, enter bootloader mode by holding PLAY while powering up tape!.
Connect the tape! to a host computer via USB - tape! boot volume will appear.
Drag and drop the .img firmware file into the mounted volume.
Upon transfer completion tape! will automatically reboot.
Warning
Do not disconnect the USB cable during the flashing process.